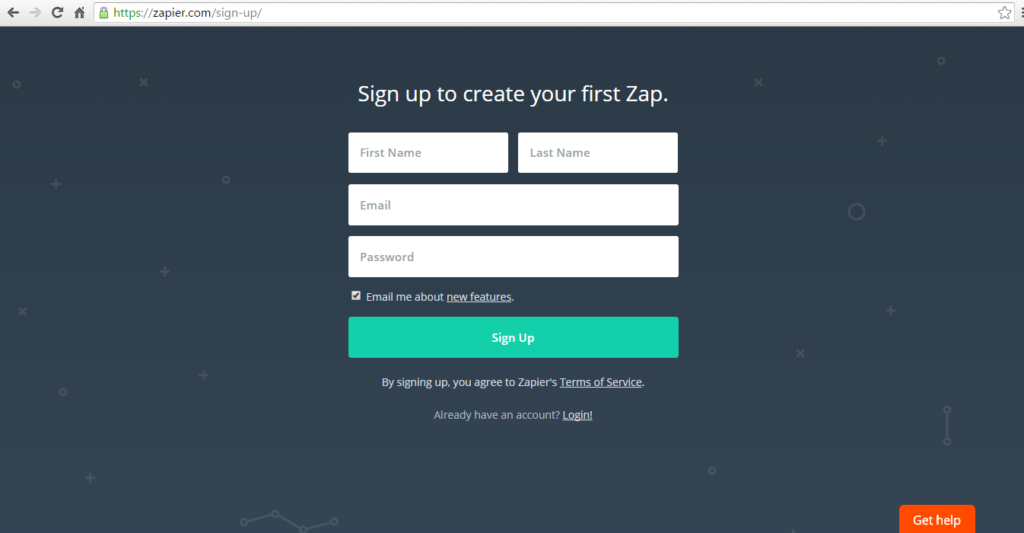
Zapier is a very well known and big application with which we can push data to many other applications. I’ve used zapier, It’s amazing. You can push thousands of data records in seconds. It is a giant of webhook with more than hundreds of applications. You just have to Make Account with zapier platform. Then after successful registration you may login to make your Zaps.
What are Zaps?
In zapier, Zaps are the WebHooks that you have made for particular data to be push on a particular action. You can create multiple Zaps on Zapier to push your data to different places through Zaps.
Trigger Apps:
- Gmail
- Google Sheets
- Facebook Pages
- WebHooks By Zapier
Action Apps
- Github
- Shopify
- Live Agent
When you make zaps, zapier will ask to choose the trigger app and show you more than 300 most popular applications. It will be same as in the action apps. Zapier will let you choose both trigger and action apps to make your zap complete.
Example:
Let’s suppose you choose Google Sheet as your trigger app. And Gmail as your action app. And you wan’t to get an email when ever the sheet edit or update by any one. So Google sheet is your trigger and gmail will be your action. We can make a zap with this scenario with zapier. Just follow my steps below.
Step 1:
Login with Zapier. Then click on MAKE A ZAP! button.
Step 2:
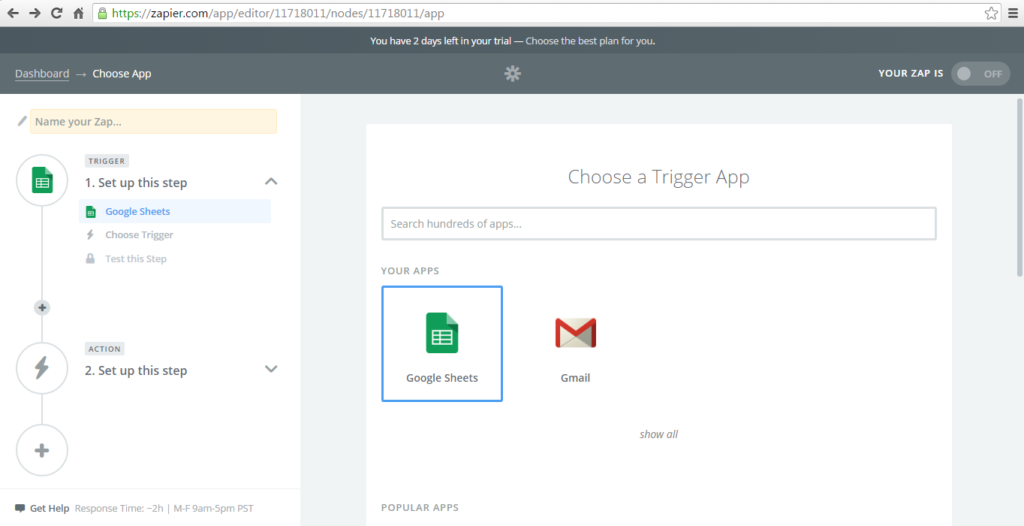
After coming in the Make A Zap section, zapier will ask for to choose the Trigger Application. Just select the Google Sheet.
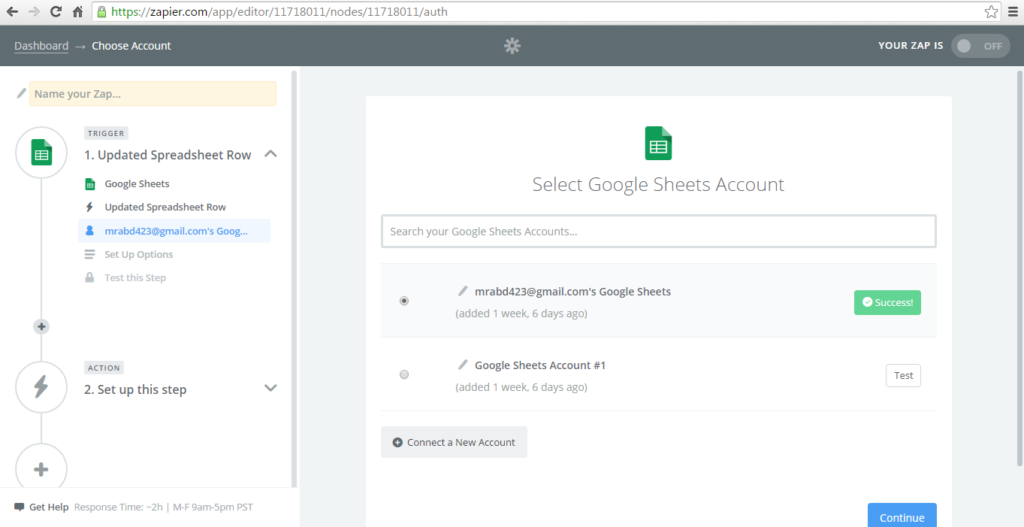
After selecting the google sheet it will now show and ask to choose the option from two. I’m choosing the second one which is Updated Spreadsheet Row then click on Continue.
Step 3:
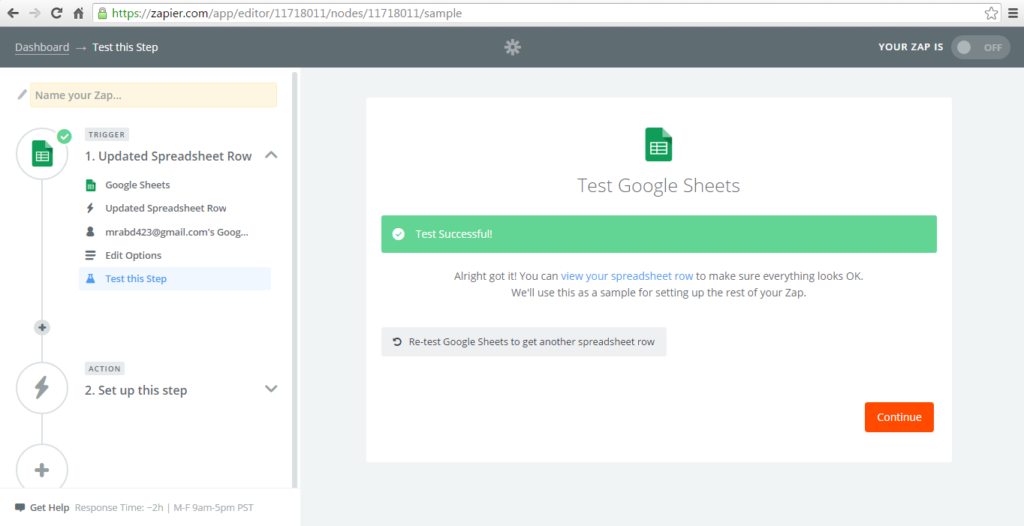
Now select the first option that is with your email address and click on the Test. Then it will show a success message.
And then click on the Continue.
Step 4:
Now it will show all the spread sheets in your account on the drop down menu. Select one of the sheet. And then Continue. After just clicking on the continue button it will now ask to click on the Fetch & continue , just click on it. Make sure you have some data in your google sheet before clicking on it.
Step 5:
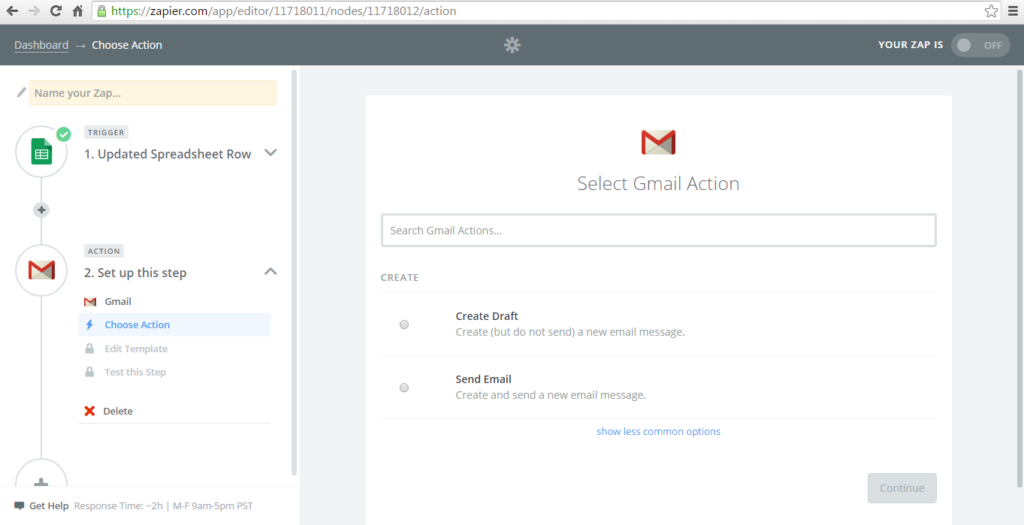
Now we will set the action that would should be done if any one edit your google sheet. So we are going to shoot an email when any one edit my google sheet. I’m selecting the Gmail option.
Step 6:
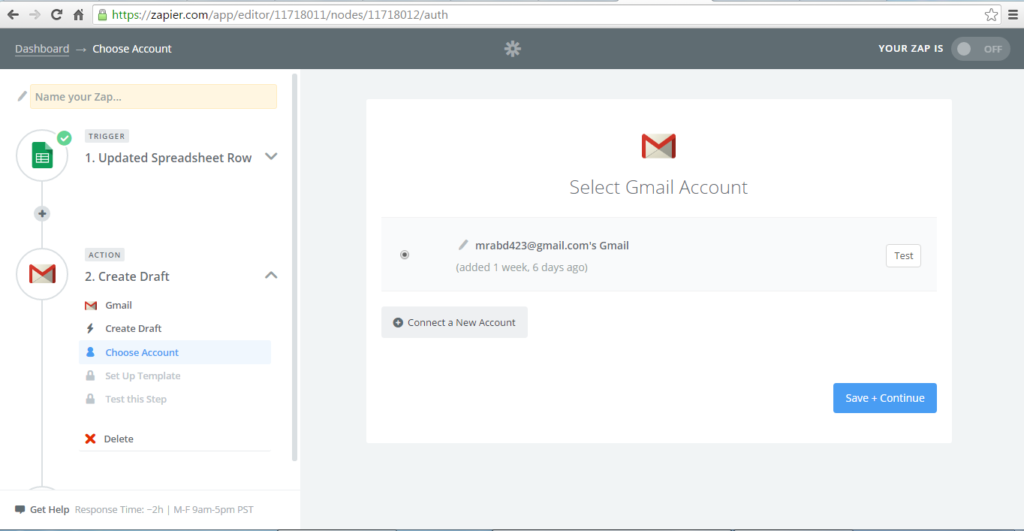
After selecting the Gmail it will ask you to create a draft or send an email. We are selecting the Create A Draft and click on Save+Continue
Click on the Save + Continue button.
Step 7:
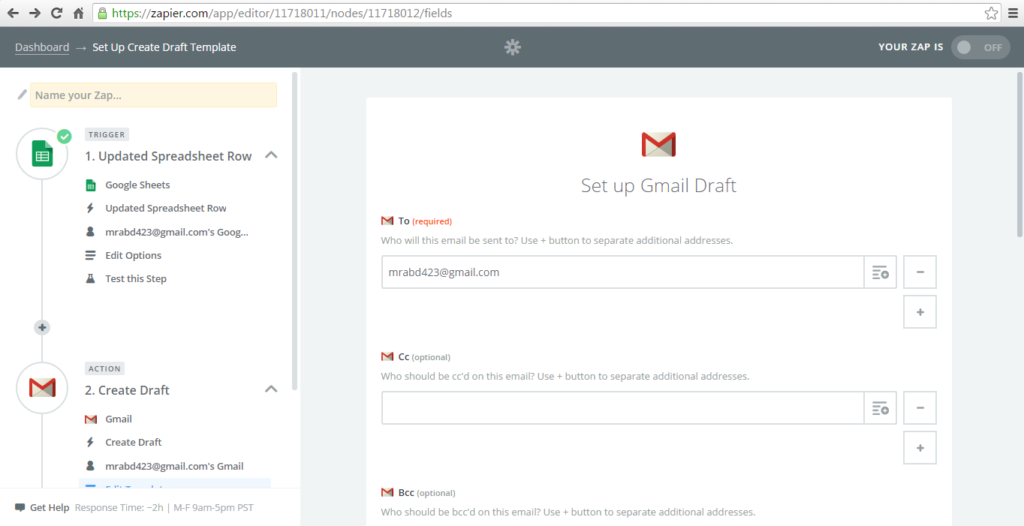
Now it will ask for Set up Gmail Draft to continue.
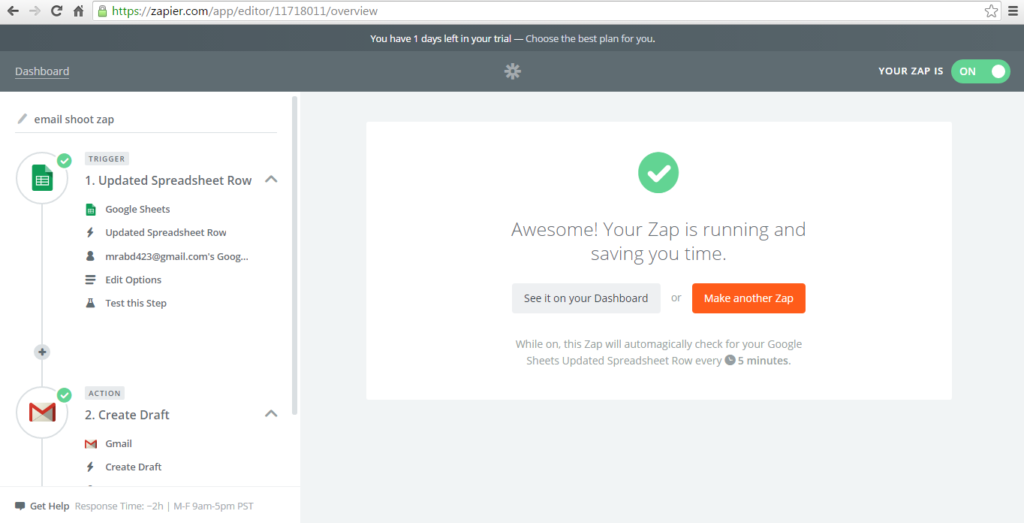
Now you will fill all the required fields and then press Continue. At the last Step it will ask to click on Create And Continue. Just click on it and your zap will be ready to use.
Push Data To Zapier With Script:
Also you can push your data to zapier with the simple script in php or jquery. You just have to give all the data and push it. See the video tutorial to push it on zapier.
